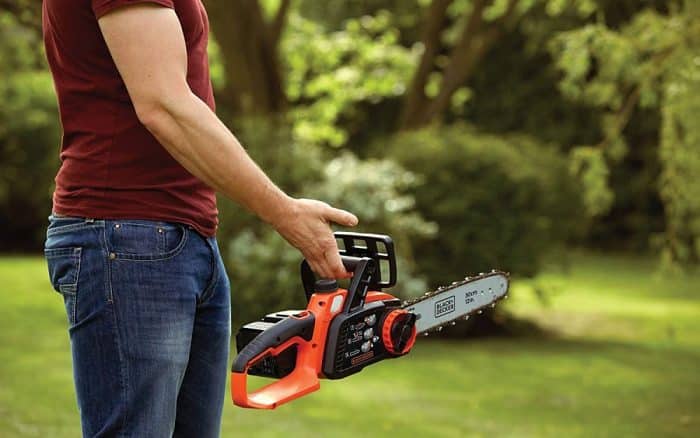
The drive sprocket of a chainsaw is the metal gear located at the motor shaft. It should be noted that the chainsaw is the machine you will choose for your pruning, tree felling, and other tasks. It consists, among other things, of a chain that, when in motion, causes a sprocket to follow the movement. This sprocket is also driven and operated by the motor shaft. It is important to note that this chainsaw sprocket wears out gradually each time it is used, and you will need to replace it sooner or later. Here’s how to do it.
What is the purpose of the chainsaw sprocket?
Every chainsaw has a sprocket that allows it to effectively perform the task assigned to it. On a gas chainsaw like tronconneuse.xyz, you will find a clutch sprocket. In contrast, on an electric chainsaw, you will see a simple sprocket. Its role, among other things on the gas motor, is to stop the chain’s rotation without necessarily stopping the chainsaw’s motor. However, remember that it is the motor shaft that causes it to rotate, also driving the motor chain in the process. Thus, your chainsaw will be able to execute the task you expect from it.
The process to change your chainsaw sprocket
To accomplish this task, you will first need to set aside the chain as well as the guide bar. To do this, you will first disassemble the cover. This way, you can access the worn sprocket. You will then need to unscrew the two bolts and lay the chainsaw on its side to remove the cover. This is how you can see the sprocket chain. Now, you will remove the sprocket using a screwdriver. But first, you will need to remove the retaining clip with the same screwdriver.
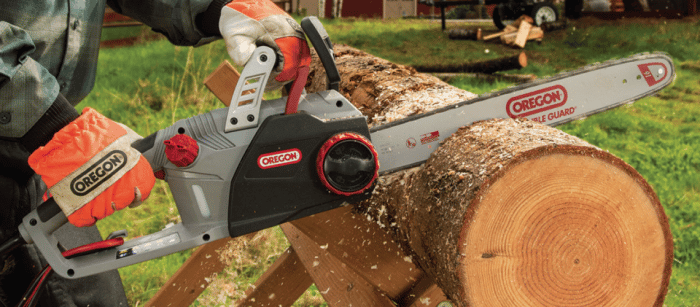 You should then properly keep the retaining clip as well as the washer. You will find this washer underneath the retaining clip. To better organize them later, make sure to place each element you remove one after the other. A good arrangement would have you stack each element on top of the new part removed from the chainsaw. Once this is done, you will prepare to install your brand-new sprocket.
Put everything back in place
Here, you will obviously start by installing your new chainsaw sprocket. With pliers, you will be able to reinstall the needle bearing and the sprocket. You will mainly need needle-nose pliers to ensure the retaining clip reaches the motor shaft properly. The sprocket should not be able to move when the clip is securely fastened. Indeed, you should not be able to remove it. Afterwards, you will need to reassemble the guide bar by properly placing the chain tensioner in the designated holes. When the chain is well seated on the guide, you will then pass the sprocket through. Finally, remember to reinstall the cover that gave you access to do your work. Do not forget to securely tighten the bolts. Also, adjust the chain tension using your flat screwdriver. Once the cover is properly back in place, you can start using your chainsaw.