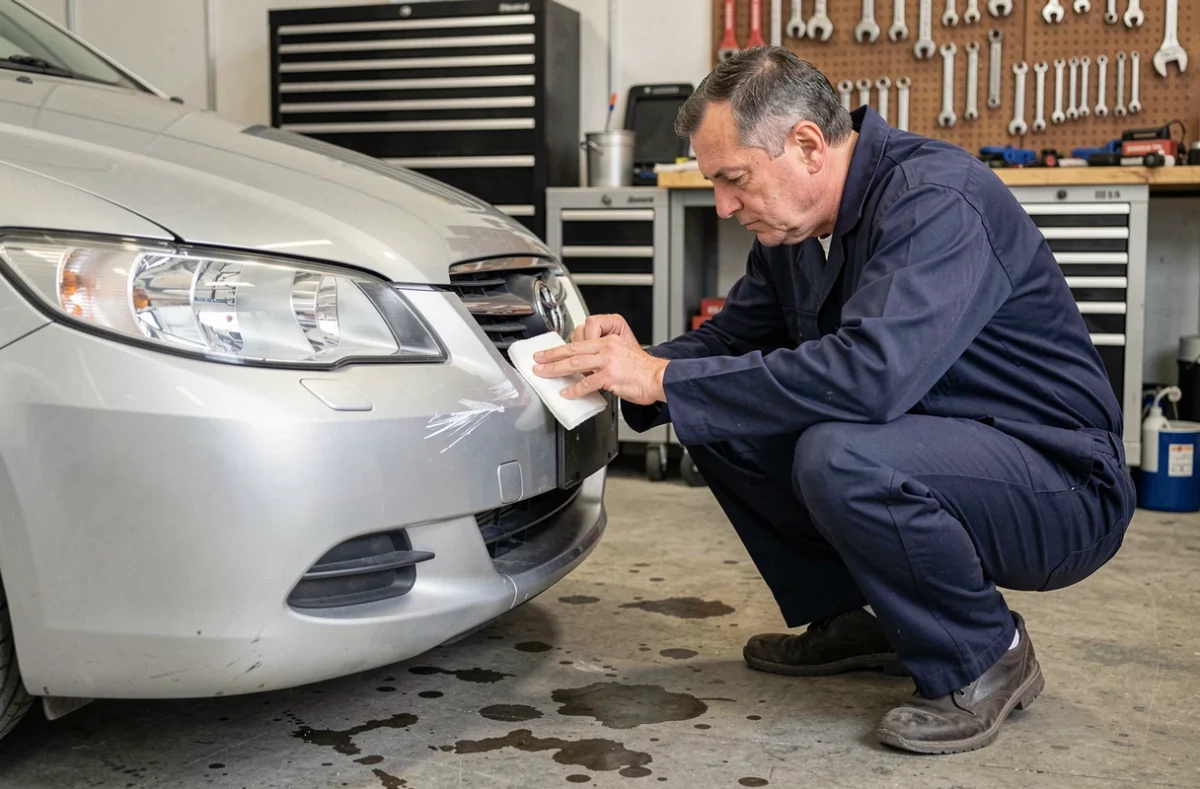
A white mark on a black bumper, a gray scuff on a painted surface: before reaching for sandpaper or a heat gun, the question to ask isn’t “how do I fix it?” but “what exactly am I looking at?”
Most visible marks on a plastic bumper aren’t scratches in the strict sense. Telling a simple paint transfer mark from a gouge in the material completely changes the method you should use—and, above all, the risks involved.
Paint transfer, surface scratch or gouge: diagnose the damage before doing anything
Competitors treat repair as a linear process. The real starting point is a visual and tactile assessment to determine whether a DIY fix is realistic or counterproductive.
| Type of damage | Appearance | Fingernail test | Recommended treatment |
|---|---|---|---|
| Paint transfer mark | Colored mark (paint from another vehicle, concrete, post) | Your fingernail glides over it without catching | Degreasing cleaner or light polish |
| Surface scratch (clear coat/topcoat) | White or dull line on a painted surface, slight whitening on bare plastic | Your fingernail barely catches | Very fine-grit sandpaper + polish |
| Deep gouge (material damaged) | Visible groove, localized deformation, torn plastic | Your fingernail sinks noticeably into the groove | Professional body shop |
The fingernail test is still the most reliable option for a non-professional. Run the tip of your fingernail across the mark at a right angle. If your nail sinks into a groove, DIY sanding could make the damage worse.
Whitening on a black, unpainted plastic bumper can be misleading. It looks like a deep scratch, but is often a change to the surface structure of the polypropylene. In this specific case, heat may be enough to restore the original appearance.
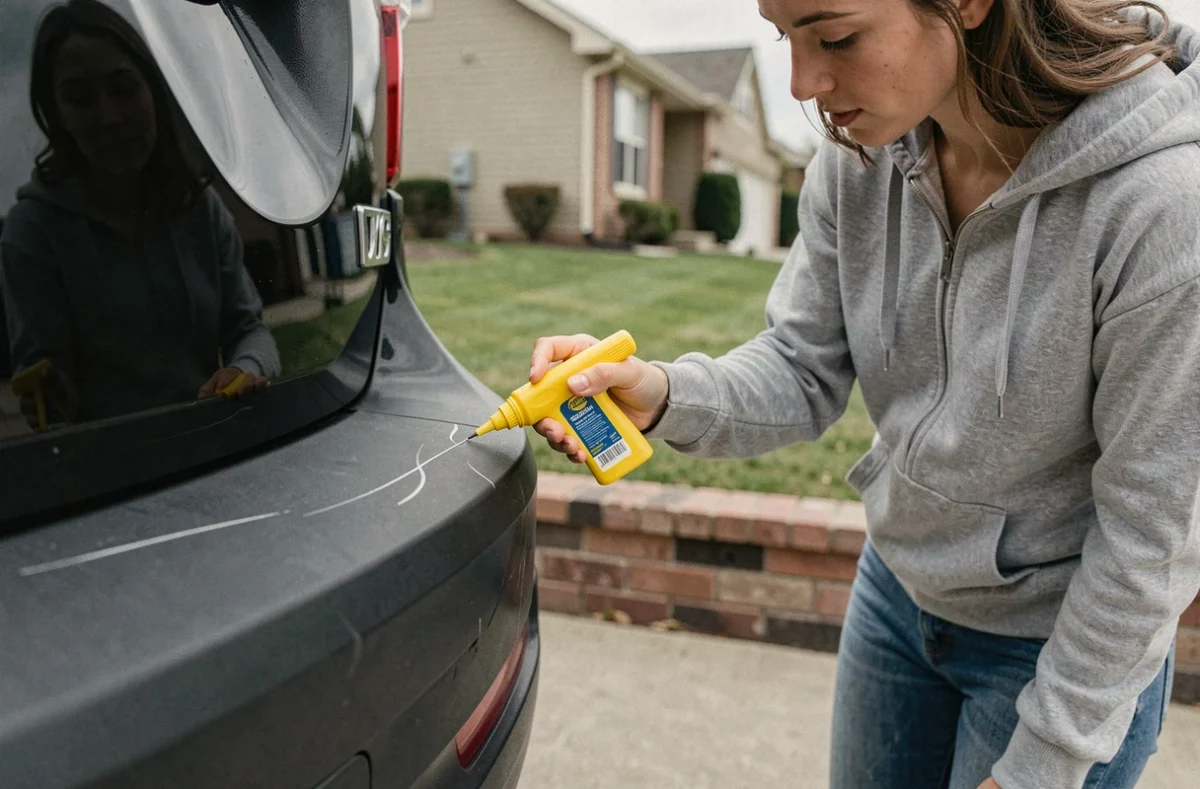
If you want to remove a scratch from a plastic bumper yourself, this initial assessment helps you avoid sanding a simple paint transfer mark (which would come off with a cloth dampened with a mild solvent) or heating a deep gouge (which requires material to be added).
Painted bumper or bare plastic: two incompatible approaches
The type of bumper surface determines the entire repair method. A technique suitable for bare plastic can ruin a painted bumper, and vice versa.
Painted bumper (body color)
A scratch first affects the clear coat, then the paint layer, then the primer, and finally the plastic. As long as only the clear coat is affected, a fine abrasive polish applied by hand or with a dual-action polisher will correct the defect. If the paint layer has been damaged (the gray or black plastic shows through the paint), a touch-up pen matched to the vehicle’s paint code can fill the gap before polishing.
Do not use a heat gun on a painted bumper. Heat can blister the paint, peel off patches of clear coat, and cause damage far more visible than the original scratch.
Black, unpainted plastic bumper
Whitening caused by a scuff on bare polypropylene results from micro-fractures in the surface. Heat (from a heat gun set to a moderate temperature, around polypropylene’s softening point) closes these micro-fractures and restores the original black appearance.
- Keep the heat gun moving constantly about four inches from the surface. Never hold it in one spot, as this can deform the plastic.
- Work in short passes and let the surface cool between each one. Plastic that is locally overheated develops an irreversible, uneven glossy finish.
- A household hair dryer generally doesn’t produce enough heat to make a visible difference on automotive polypropylene.
Exterior plastic restorer (gel or spray) works on light marks, but its effect fades after a few washes. It masks the damage more than it repairs it.
Signs that mean you should avoid a DIY repair
Most tutorials show cases where the method works. Cases where you should stop are rarely documented.
- The plastic is cracked or split, even partially. A crack under mechanical stress (impact or vibration while driving) can spread and weaken the bumper’s mounting points.
- The scratch goes through several layers on a painted bumper, exposing the bare plastic over an area more than a few millimeters wide. A touch-up pen won’t cover a large area properly.
- There is visible deformation alongside the scratch: a dent, bulge, or misalignment with adjacent body panels. Any deformation of the plastic indicates an impact that may have damaged the mounts or the energy absorber behind the bumper.
- Parking sensors, adaptive cruise control radar, or a camera are integrated into the damaged area. Sanding or heating near these electronic components can affect their operation or calibration.
In these situations, taking the vehicle to a body shop is the only option that won’t risk making the problem worse. Professional touch-up work on a plastic bumper costs far less than replacing the entire part.
Choosing the right sandpaper grit for a plastic bumper
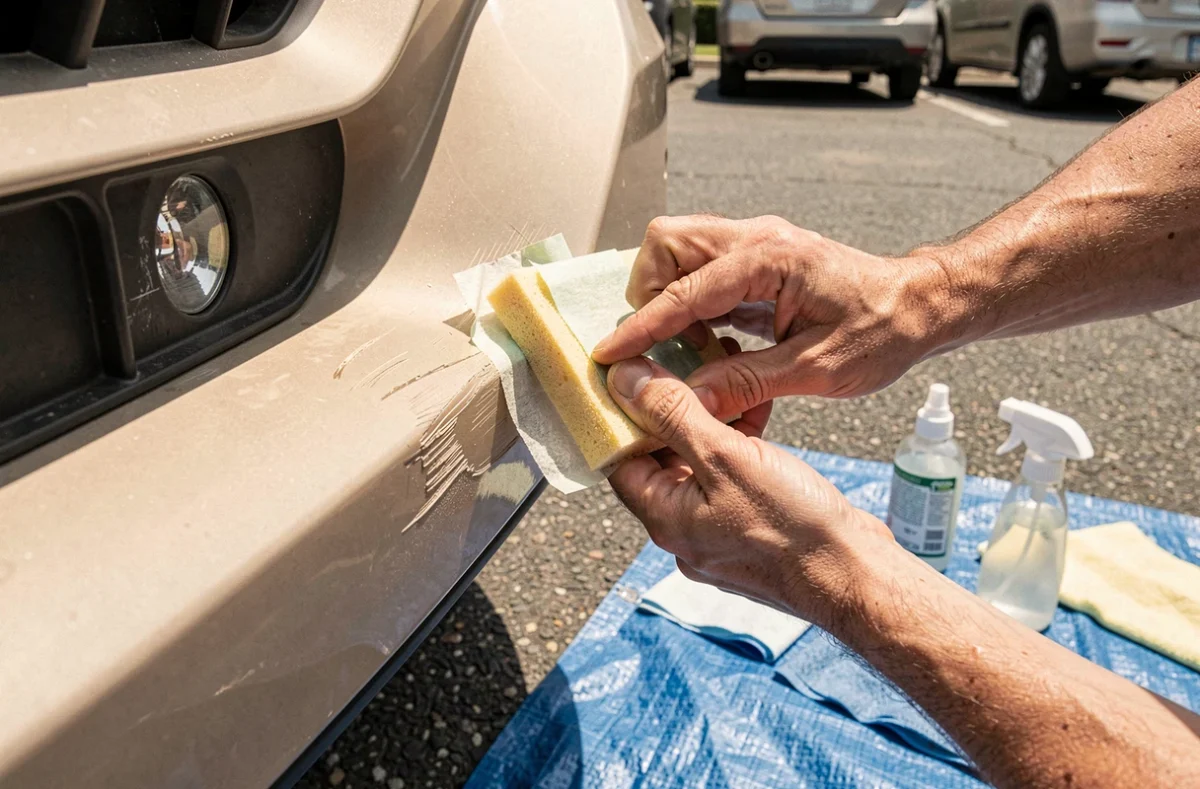
Sanding is still the most effective method for surface scratches on painted bumpers, provided you follow a strict progression of grits. Starting with too coarse a grit cuts into the clear coat and leaves a visible dull patch.
Start with a fine grit (around 2000) and work up to a very fine grit (3000 or higher) to reduce the risk. Wet-sand each pass with waterproof sandpaper, using straight—not circular—strokes to avoid holograms during the final polish.
On a bare plastic bumper, sanding is counterproductive. It changes the original textured finish and creates a smooth patch that contrasts with the rest of the surface. On bare plastic, use heat or a plastic restorer instead of sanding.
After sanding, finish by polishing with a fine-cut compound, followed by a finishing polish. The goal is to restore the clear coat’s shine without cutting through the remaining layer. Where the clear coat is already thin on the bumper (edges and corners), it’s better to leave some of the defect than risk sanding through to the primer.