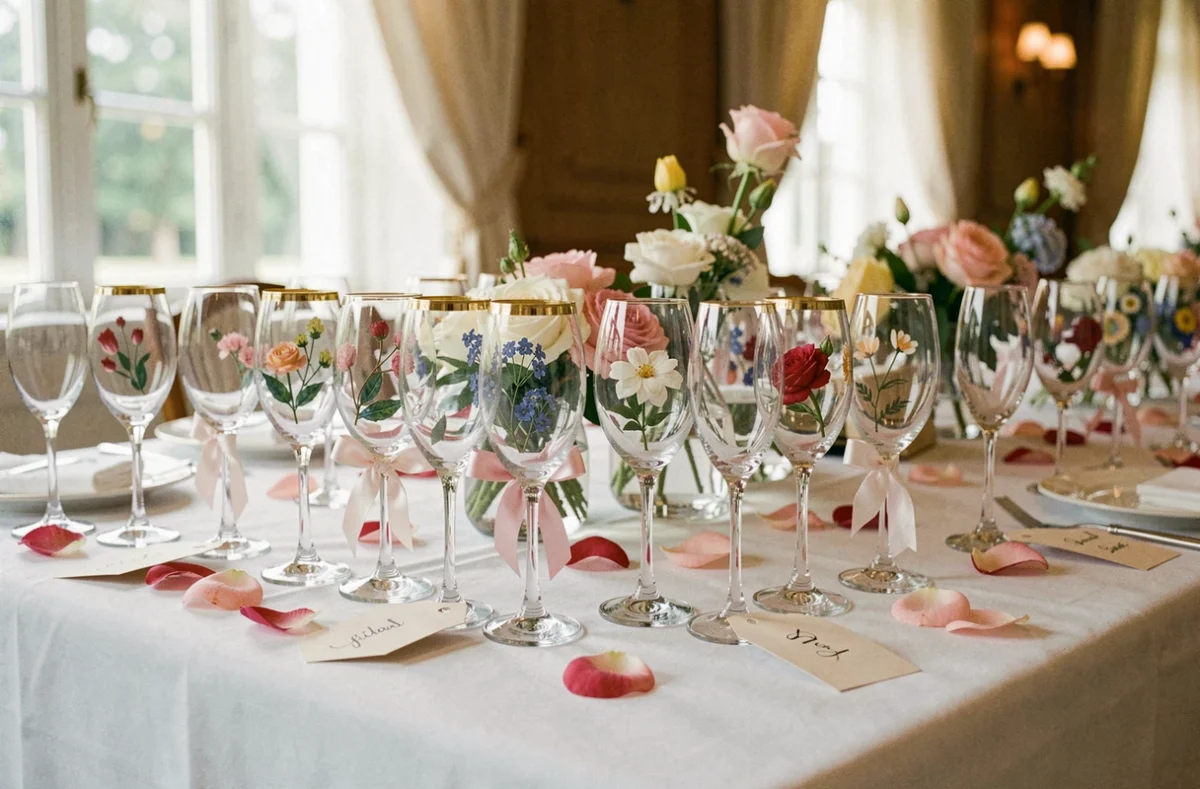
Decorating wedding glasses transforms a simple reception table into a personalized decor. Each guest finds their name, a pattern, or a color that reflects the theme of the day. The glass becomes both a useful item and a keepsake to take home.
The techniques vary depending on the budget, available time, and desired result. Some require a soldering iron, while others just need a roll of ribbon. Here are ten concrete approaches, tested on classic reception glass.
1. Diamond Tip Engraving for a Permanent Finish
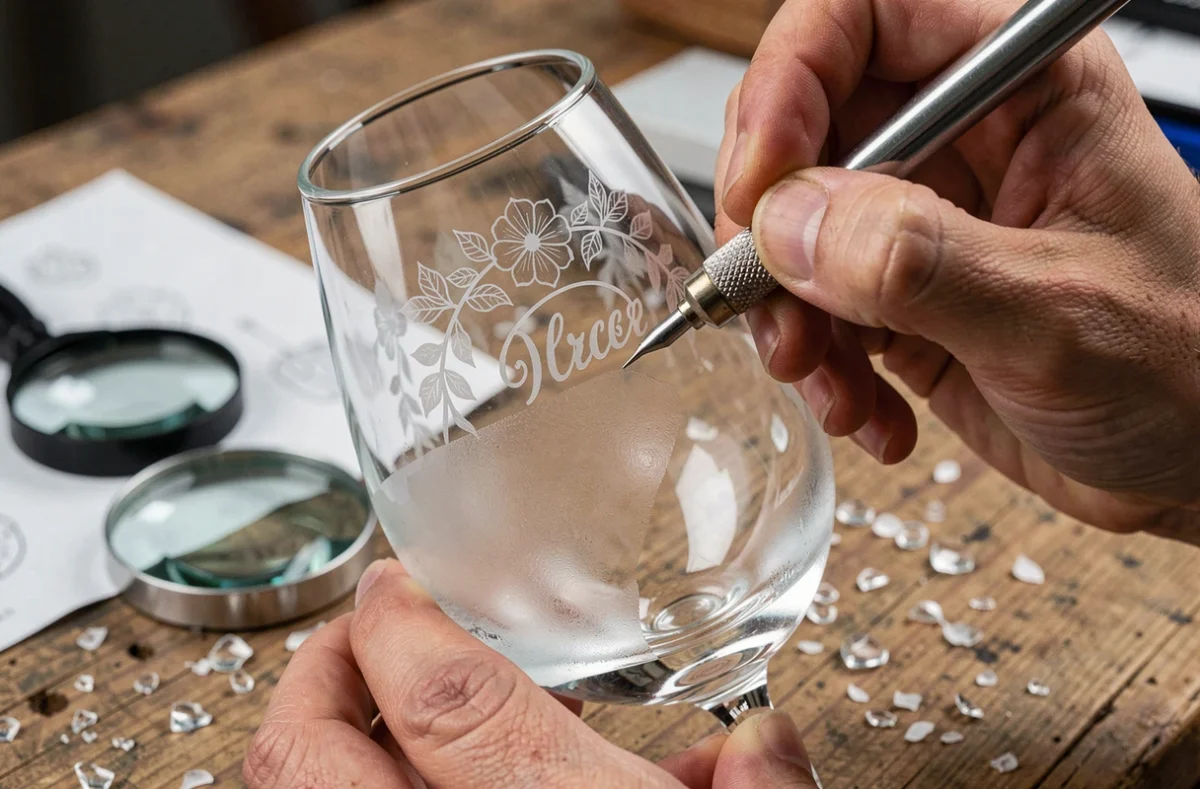
A diamond tip pen allows you to trace initials, a date, or a small motif directly on the surface of the glass. The line is fine, matte, and does not wash away. Guests leave with a truly reusable item.
This technique requires a bit of practice: it’s better to practice on two or three glasses before engraving the entire set. You can find more wedding glass decoration ideas on Info Mariage to compare results based on the type of glass chosen.
Engraving remains the only decoration that is not afraid of the dishwasher or time. It is particularly suitable for champagne flutes given to the witnesses or the couple themselves.
2. Food-Safe Paint Applied with a Fine Brush
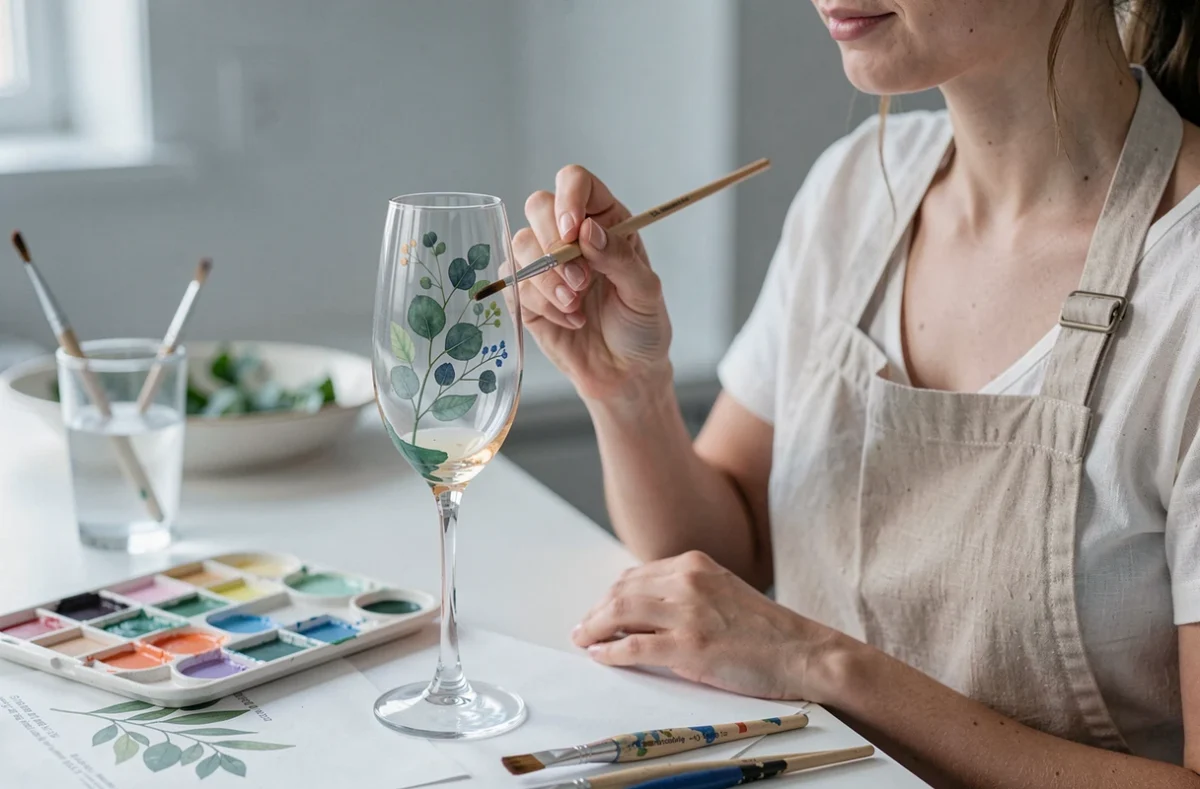
Hand-painting a glass offers total freedom over colors and shapes. Flowers, swirls, calligraphed names: everything is possible with a fine brush and suitable paint.
Why choose this over a classic marker? Brush painting allows for gradients and solid areas that are impossible to achieve otherwise. However, any paint applied near the edge of the glass must be food-safe. European regulation EC No. 1935/2004 governs materials in contact with beverages. Request a declaration of conformity from the paint supplier before starting.
The safest area remains the outside of the glass, away from the edge where lips touch.
3. Acrylic Markers for Quick DIY
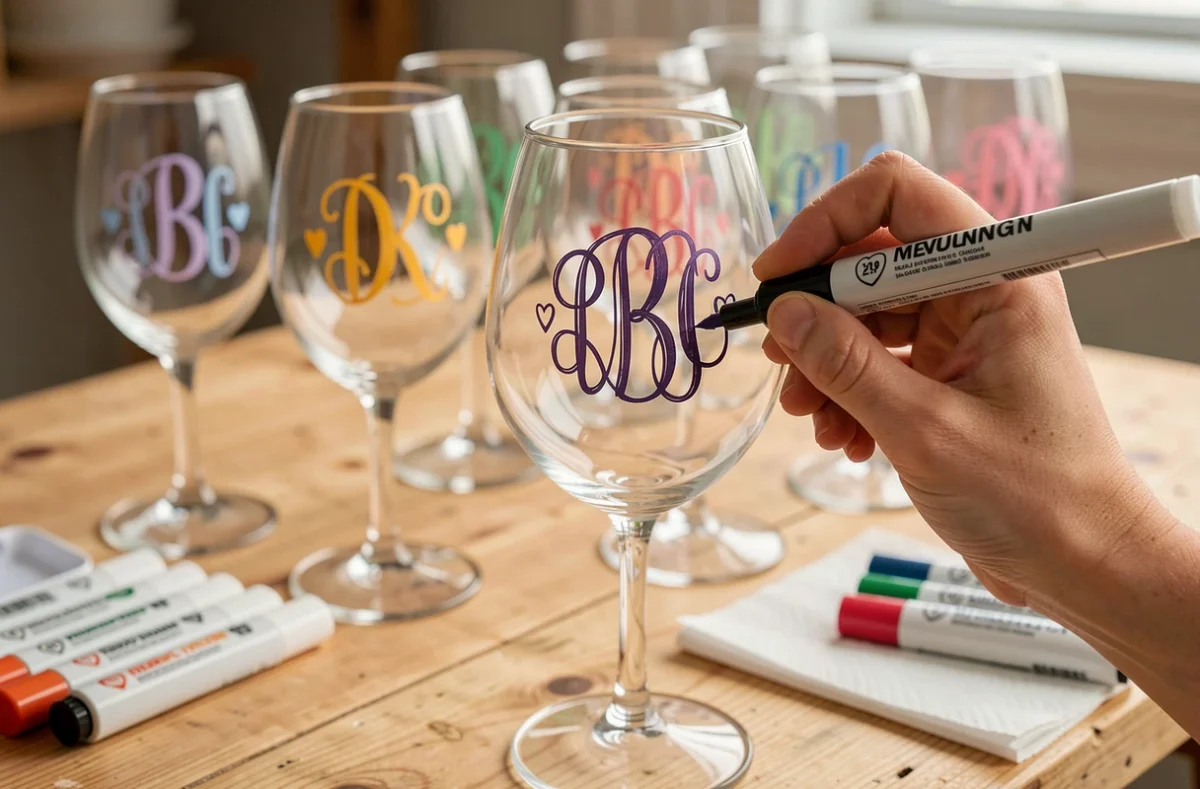
Acrylic markers for glass are appealing due to their simplicity. You write directly on the surface, let it dry, and you’re done. Guests’ names, small drawings, table numbers: personalization takes just a few seconds per glass.
Be careful of a common pitfall: the label “water-resistant” does not guarantee dishwasher durability. Heat, detergent, and pressure from the spray can erase the marking in a single cycle. For a lasting result, you need to bake the glasses in the oven after marking, according to the manufacturer’s instructions.
4. Satin Ribbon Tied Around the Base of the Glass
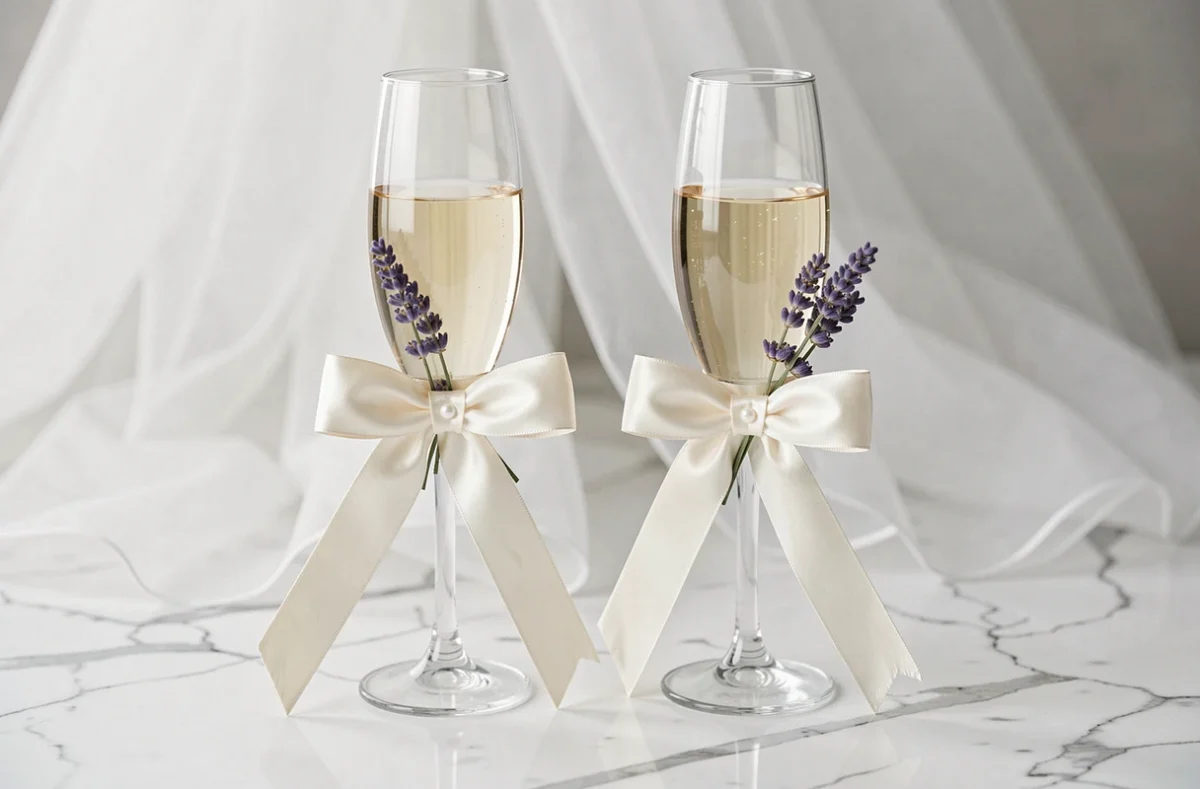
Have you noticed that the base of a wine glass often remains bare on a festive table? A simple satin ribbon tied in a loop changes the whole look. The cost is minimal, and it takes just a few seconds to apply.
The ribbon can match the wedding color palette. A simple knot is enough, but a double knot holds better during the meal. Choose a ribbon that is narrow enough not to hinder grip.
This decoration is easily removable, making it ideal if you rent the glasses and need to return them intact.
5. Calligraphed Tags as Place Cards
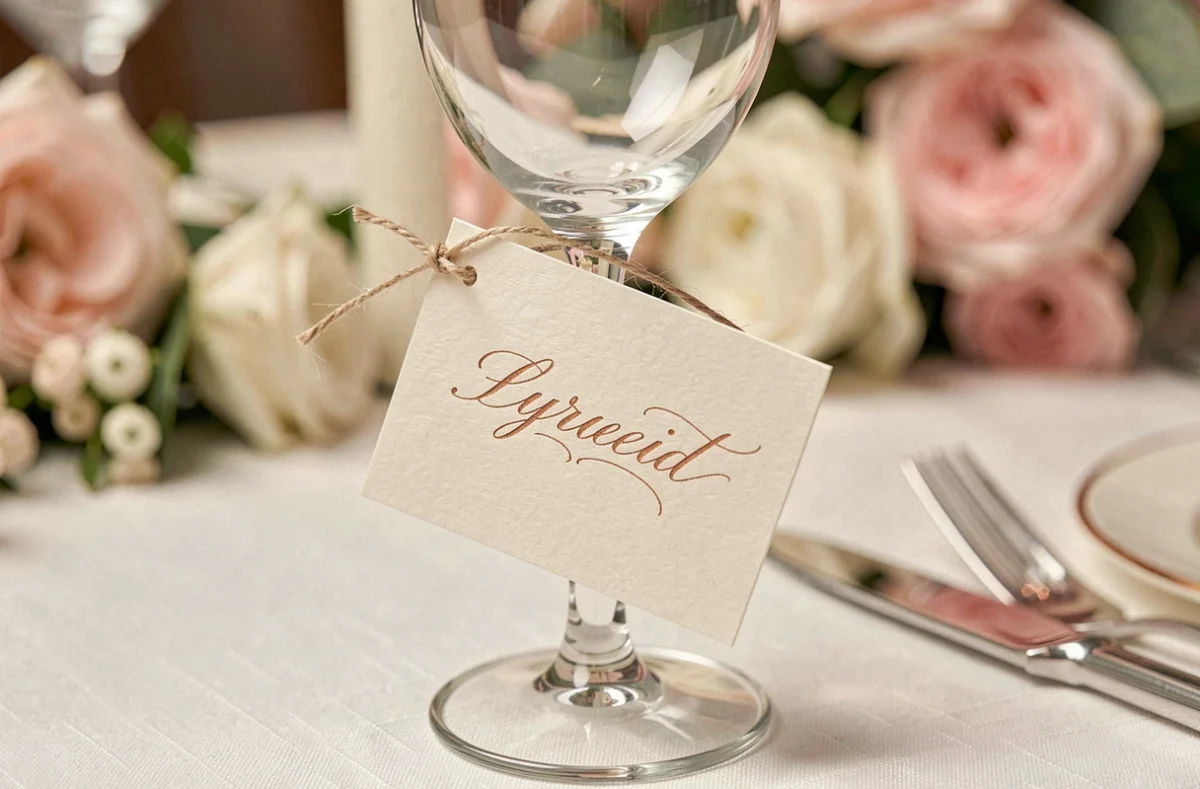
A small tag made of kraft paper or thick cardboard, attached to the base of the glass with a linen thread, replaces the classic place card. The glass serves a dual purpose: decoration and seating plan.
Calligraphy with a pen gives an artisanal finish that inkjet printing cannot replicate. For a reception table, the contrast between the raw paper and the transparent glass creates a sharp visual effect.
6. Dried Flowers Glued to the Outer Wall
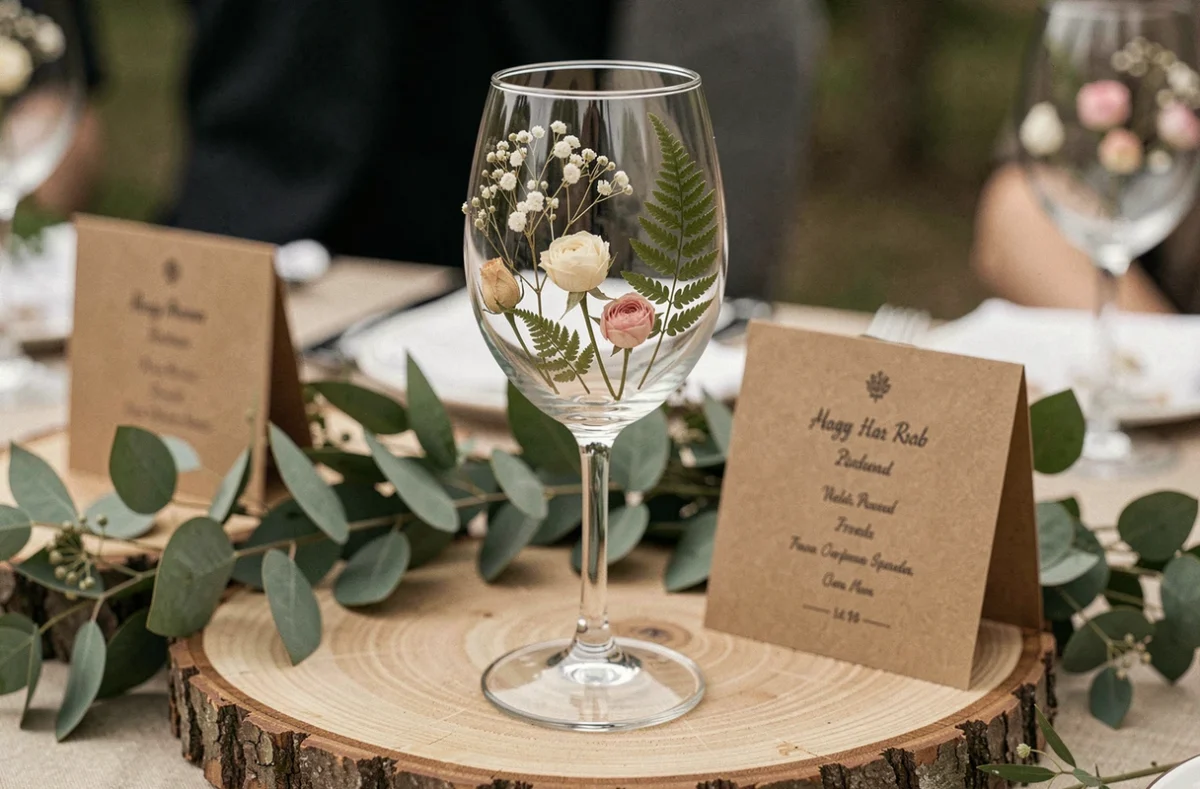
Gluing small dried flowers (baby’s breath, lavender, everlasting flowers) on the outside of the glass adds an immediate rustic touch. Use repositionable glue to remove the decoration after the party without damaging the glass.
The result works well with a bohemian or Provençal theme. Limit the glued area to the lower third of the glass to avoid hindering grip or risking contact with the drink.
7. Sealing Wax on the Base of the Glass
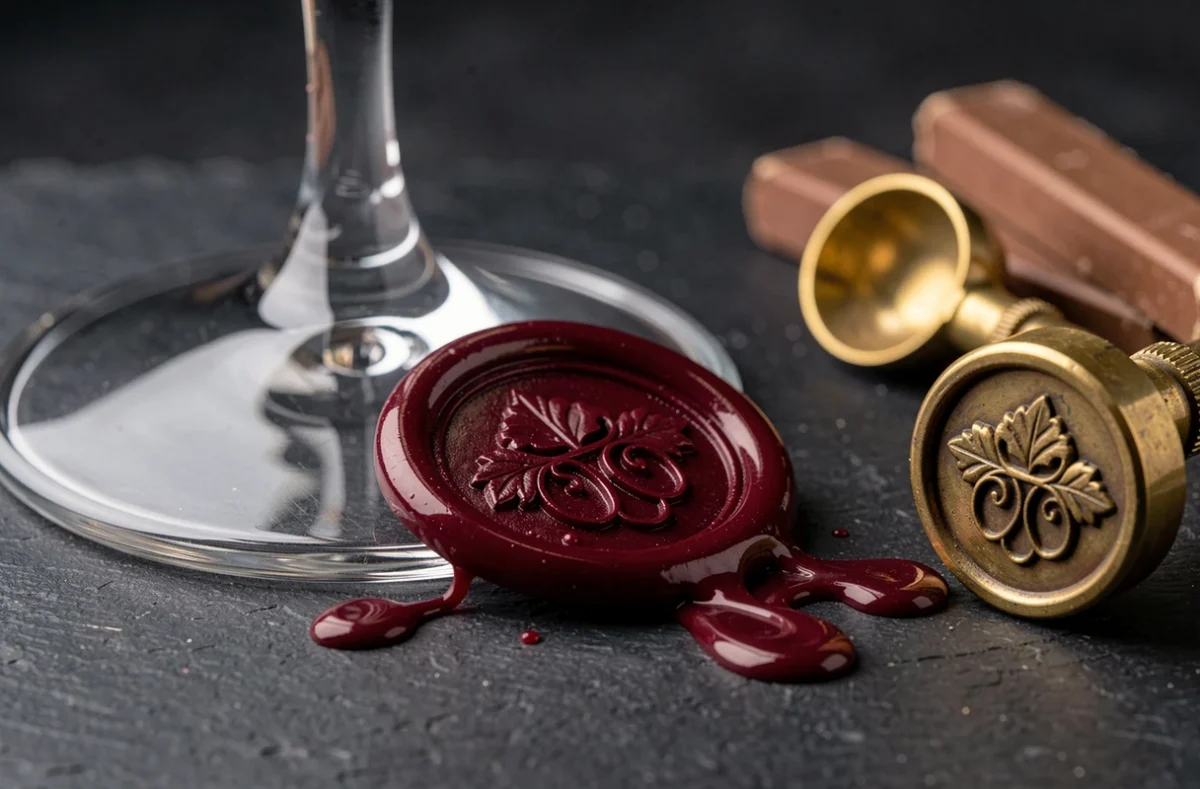
A wax seal bearing the initials of the couple, pressed directly onto the base or foot of the glass, gives a sober and refined appearance. Sealing wax adheres well to clean, dry glass.
Prepare the seals several days before the wedding to allow the wax to harden completely. The application takes time: count about thirty seconds per glass between melting and sealing.
8. Glass Charms Attached to the Handle or Base
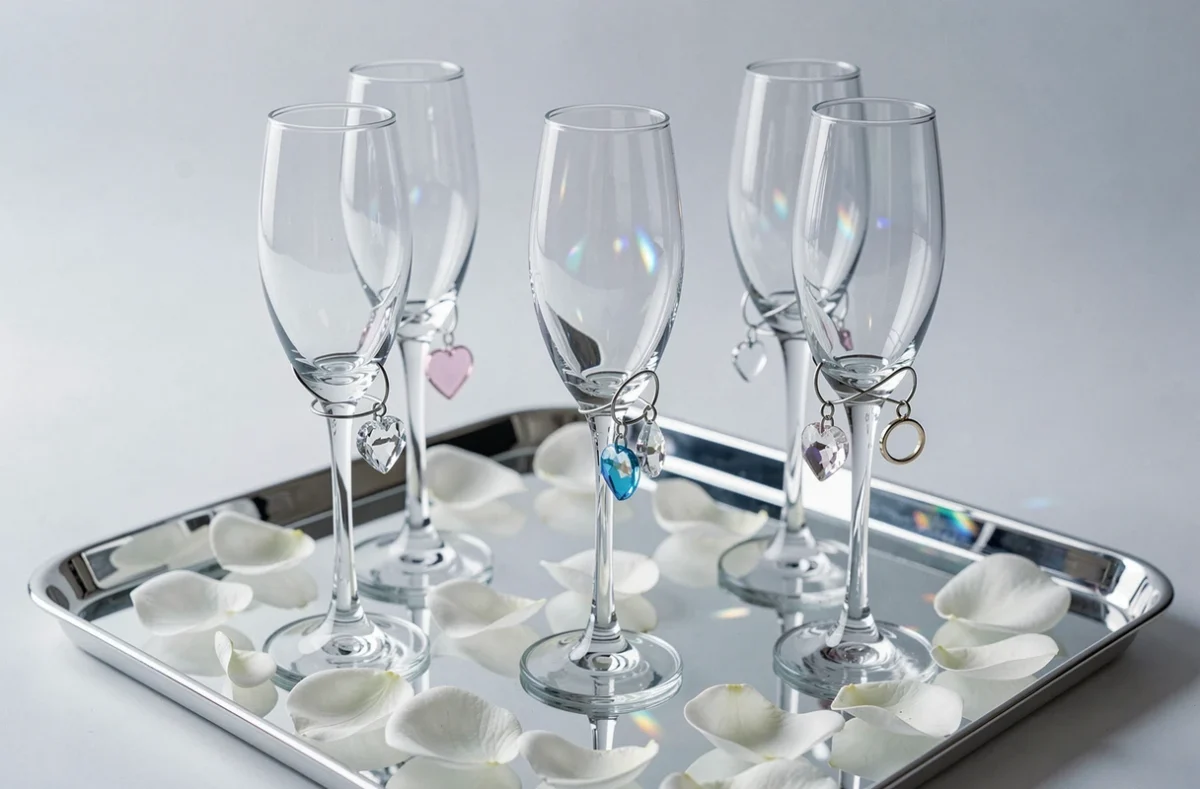
Glass charms are small metal or bead pendants that are fixed around the base with an open ring. Each guest receives a different charm, making it easy to find their glass throughout the evening.
This system works like a personalized glass marker. You can match the charms to the wedding theme:
- Stars and moons for an evening wedding
- Shells for a seaside theme
- Small keys or hearts for a romantic style
9. Gold Leaf on the Edge of the Glass
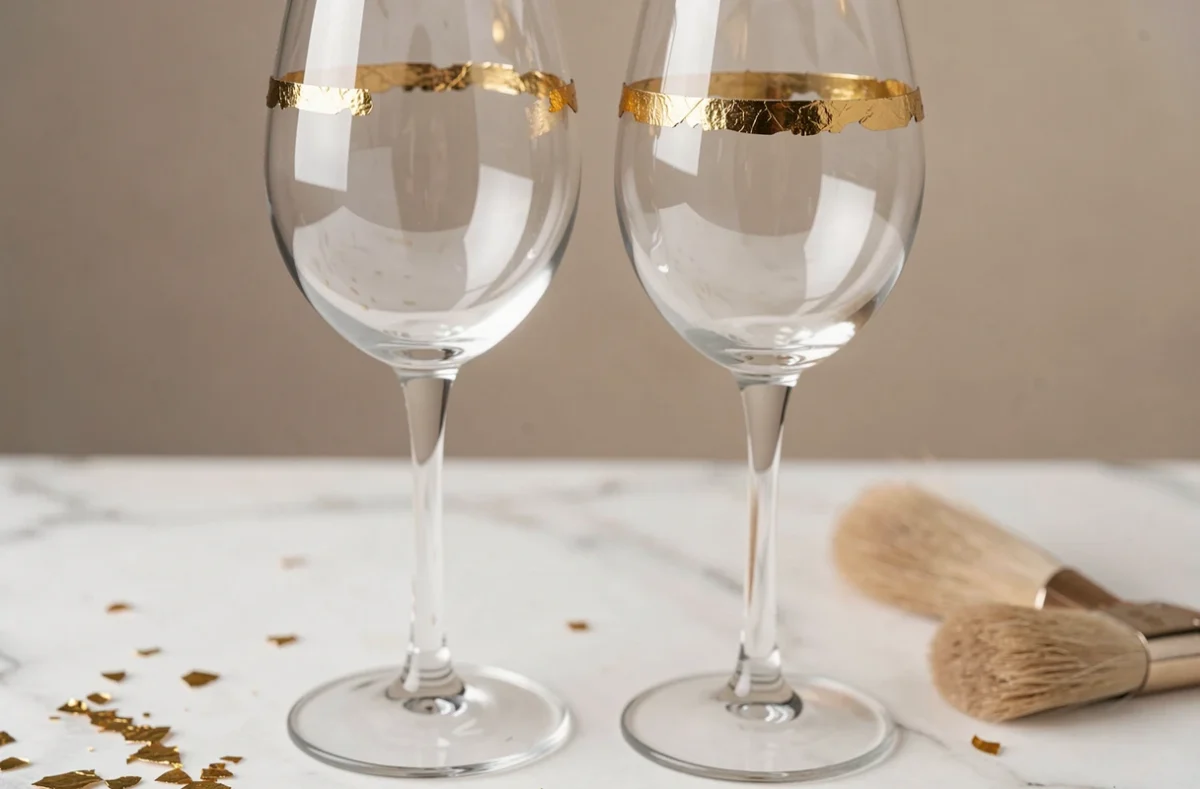
Applying gold leaf (or imitation gold) to the upper edge of the glass gives a luxurious effect with minimal materials. A flat brush, gilding glue, and transfer sheets are all you need.
The result is spectacular on transparent stemware, especially under reception lighting. Apply the gilding only to the outside edge, never on the inner side that comes into contact with the drink, to comply with food safety regulations.
10. Stencils and Artificial Frosting Spray
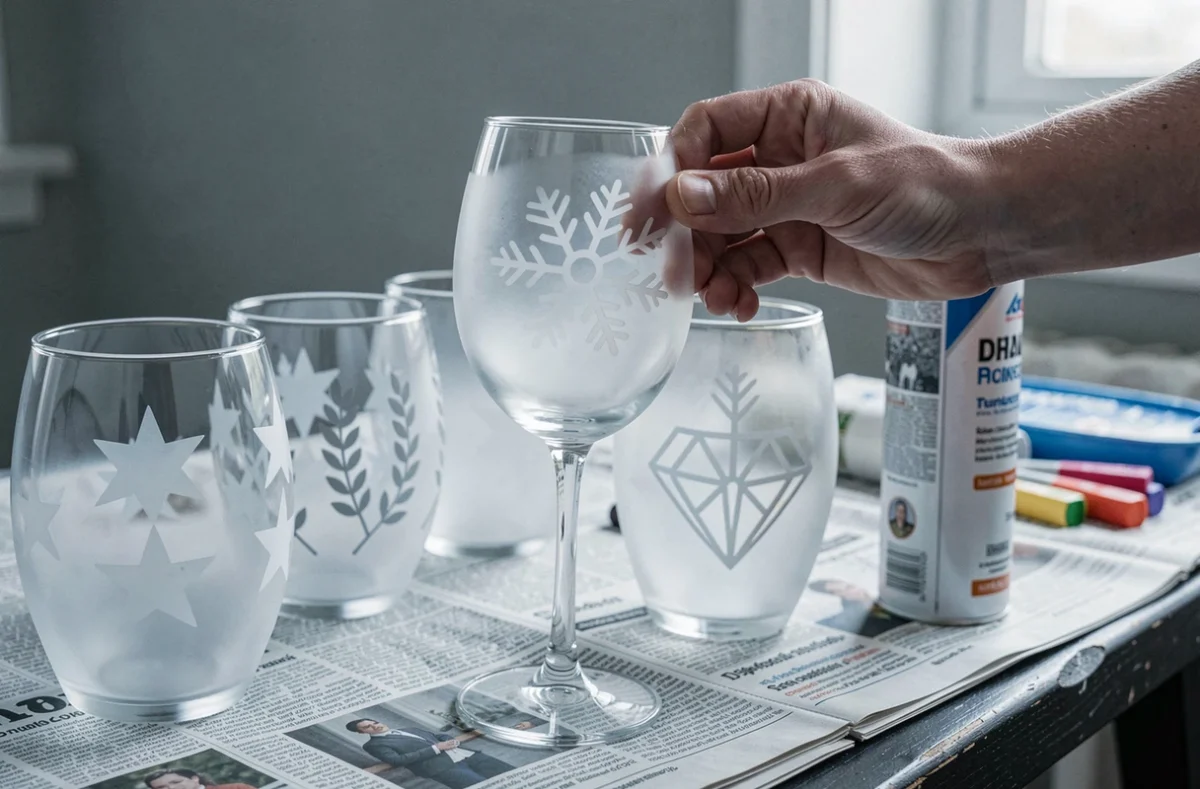
An adhesive stencil placed on the glass, followed by a spray of artificial frosting, creates a translucent pattern that resembles frosted glass. The effect is elegant and discreet, suitable for winter atmospheres or white themes.
Remove the stencil before the frosting dries completely to achieve sharp edges. Test the product on one glass before treating the entire set, as some artificial frostings leave a sticky film that is difficult to remove.
Among these ten techniques, some can be easily combined: a satin ribbon with a calligraphed tag, or engraving complemented by a charm. The choice depends on the time available, the number of guests, and the atmosphere you wish to create. One last point to keep in mind: any decoration that may come into contact with the drink deserves a food compliance check before the big day.